Deleting a Room and its Blinds
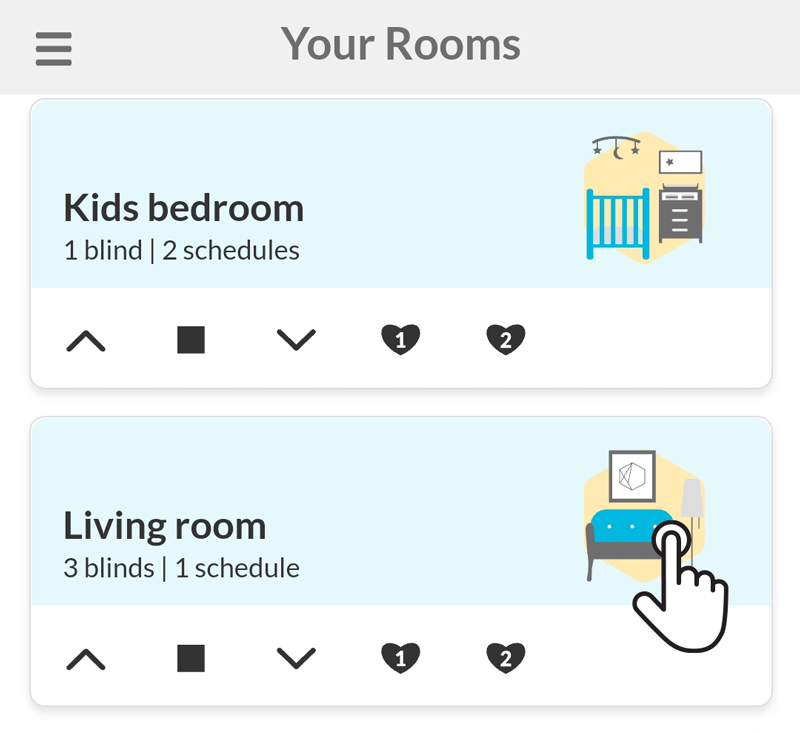
1 - Open the room page
Tap on the room you want to delete and, therefore, permanently remove from your account.
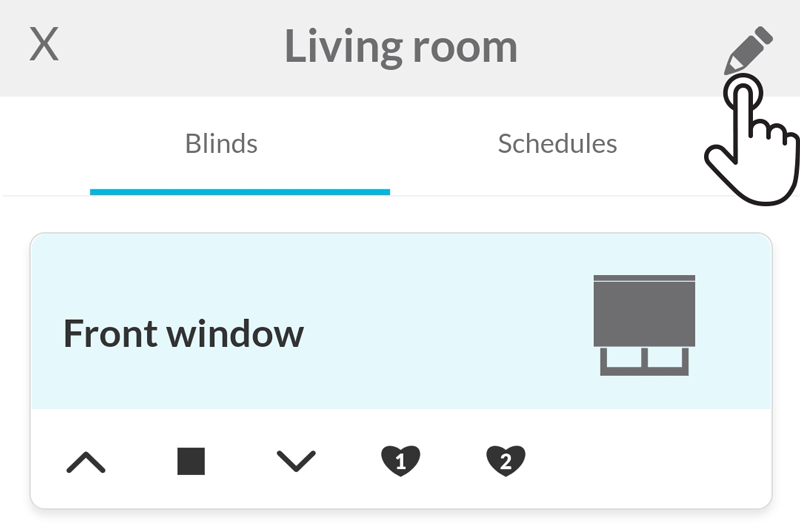
2 - Tap on the pencil icon
In the upper right corner, tap on the pencil icon to access the room's information page.
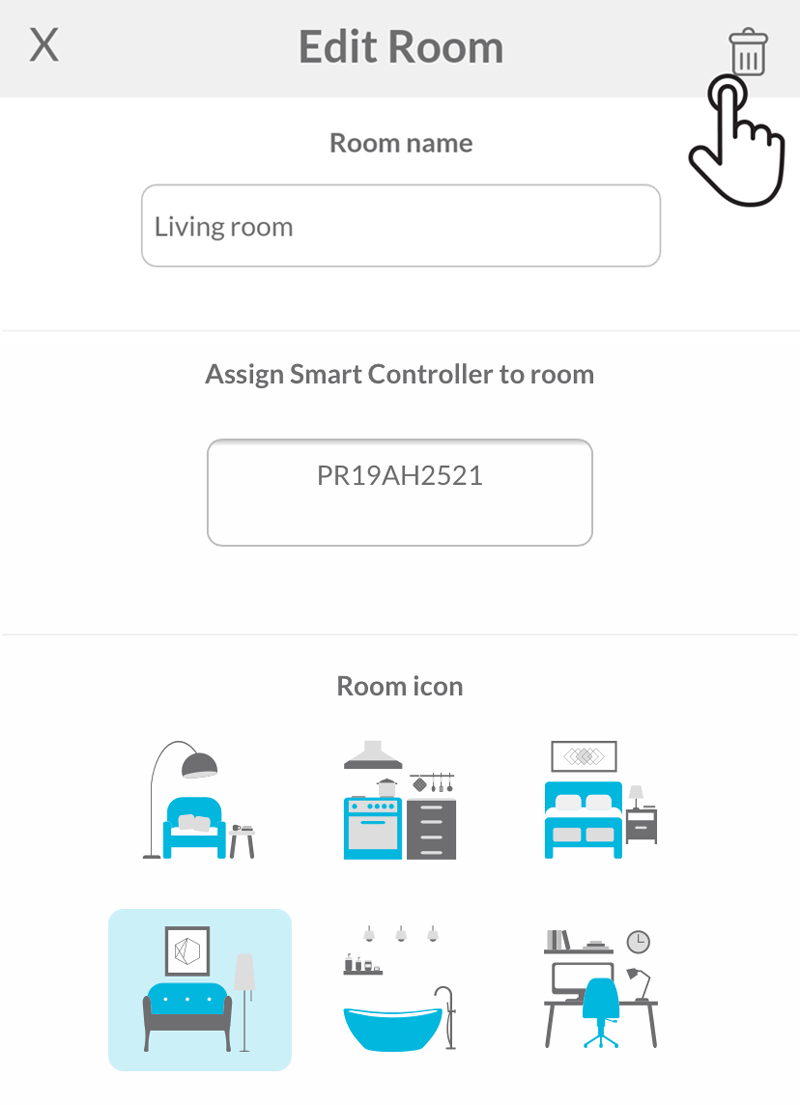
3 - Tap on the trash can icon and confirm
In the upper right corner, tap on the trash can icon to delete the room. Tap on OK to confirm and permanently delete the room and its blinds from your account.
Related Articles
Assigning a Smart Controller to a Room
When adding a new room during the Add a blind process, accounts with more than one Smart Controller need to assign a particular Smart Controller to the room. Later, this information can be changed when editing a room. This feature is especially ...Controlling Blinds Individually
1 - Access the blind page of a room Tap on the room that has the blind you want to control individually. 2 - Controls and favourite position(s) Most blind brands will have the buttons: open, stop, close and favourite position*. Use them to control ...Tips for grouping blinds to match your home layout
Blinds from different brands, RF protocols or with different features cannot always be added to the same room, especially if they require different handheld remote controls. If, when adding a blind, the room you want to select does not appear, the ...Controlling rooms/blinds from multiple devices
The Smart Controller can only be associated with one account at a time. If you Add the Smart Controller to another account, the original account will lose control of it. This ensures there is no conflict between accounts when sending commands to your ...Can't Pair My Blinds
This troubleshooting guide assumes your blinds are working correctly with their original remote control. If you’re having issues pairing a remote control or setting blind limits, please contact the company you purchased the blinds from. If you're ...