Model C-BR300: Adding a Smart Controller
Information and what you will need

- 2.4Ghz Wi-Fi with Internet
- your Wi-Fi password in hands
- Enabled Bluetooth on a mobile device and allow Bluetooth usage on step 3
- A smartphone or tablet running Android 9.0 (Pie) or higher, or iOS 13 or higher is needed

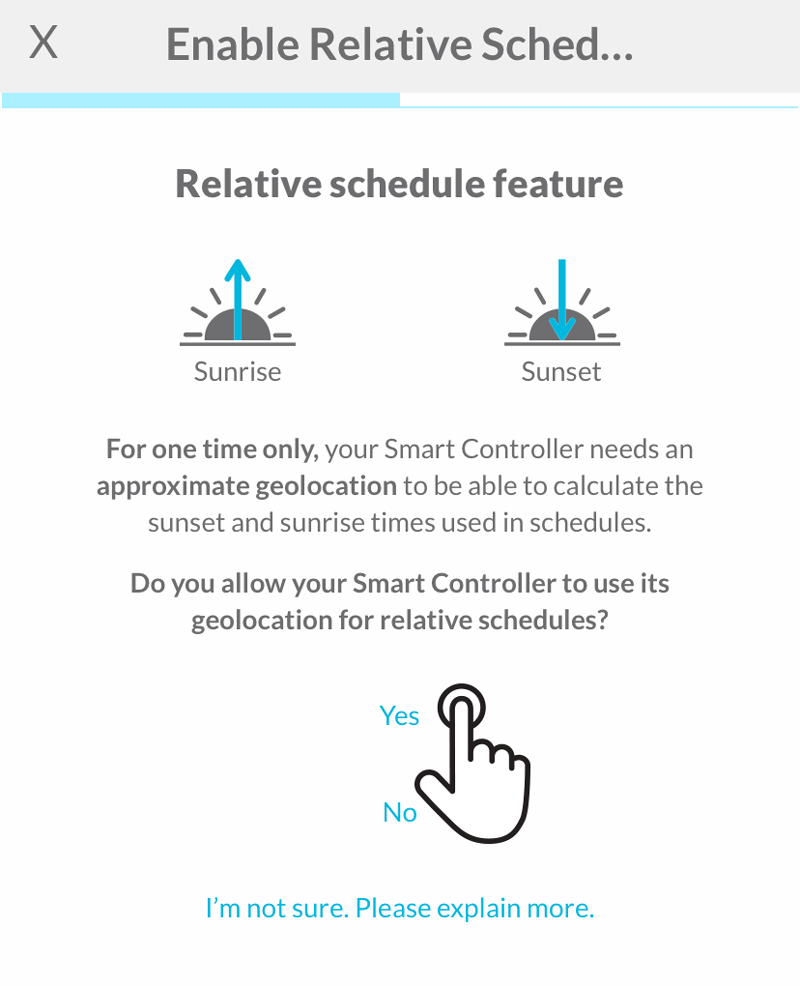
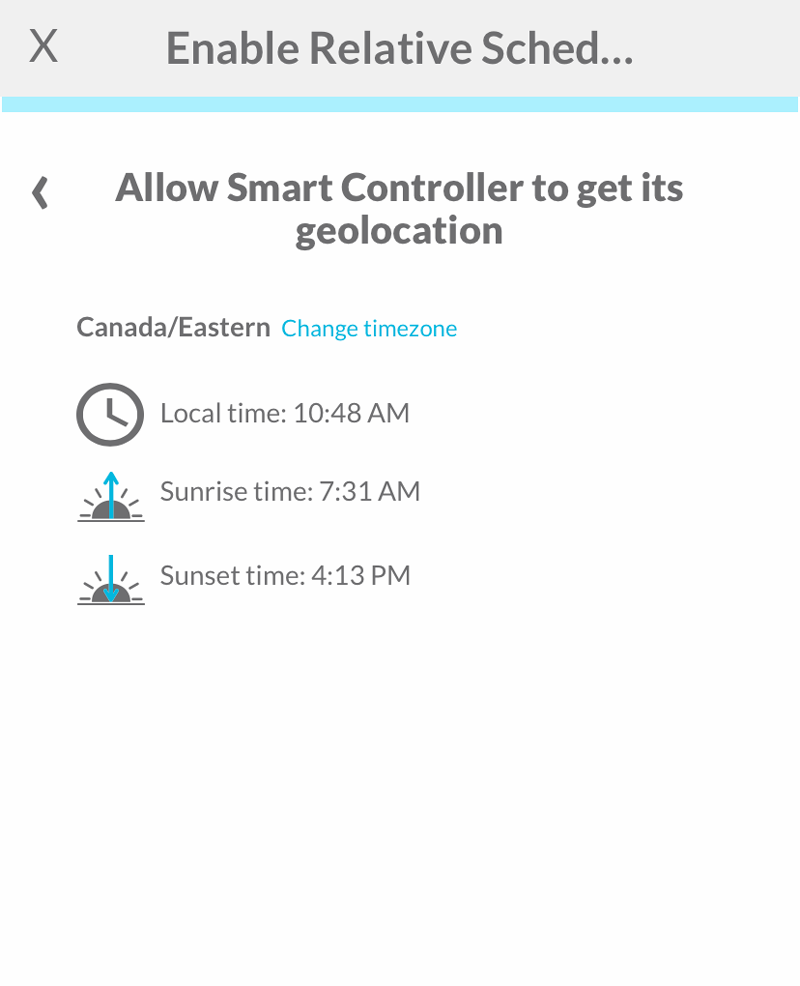
Allow Smart Controller to get its approximate geolocation
By opting in, you will enable the relative schedule feature in the app which is
used to show the sunset and sunrise buttons on the schedule page. By opting out,
the app will be only able to schedule rooms at a specific time. In this case, you will
be guided to set a timezone manually.
Enabling and disabling geolocation usage can be
done at any time on the settings page of the app.

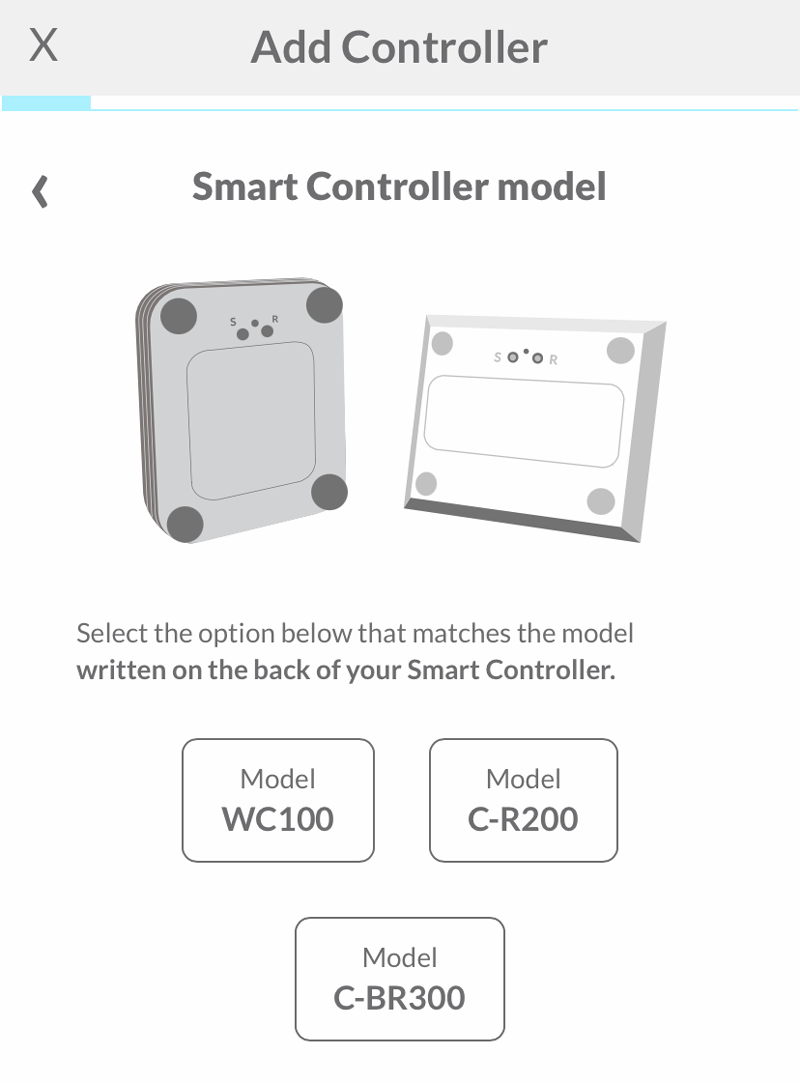
Select your Smart Controller model
The model number is written on the back of your Smart Controller case.
Choose a place for the Smart Controller
Choose a central spot for the Smart Controller near your motorized blinds with internet access.
Power up
Using the included cable and power adapter, plug the Smart Controller into a wall outlet.
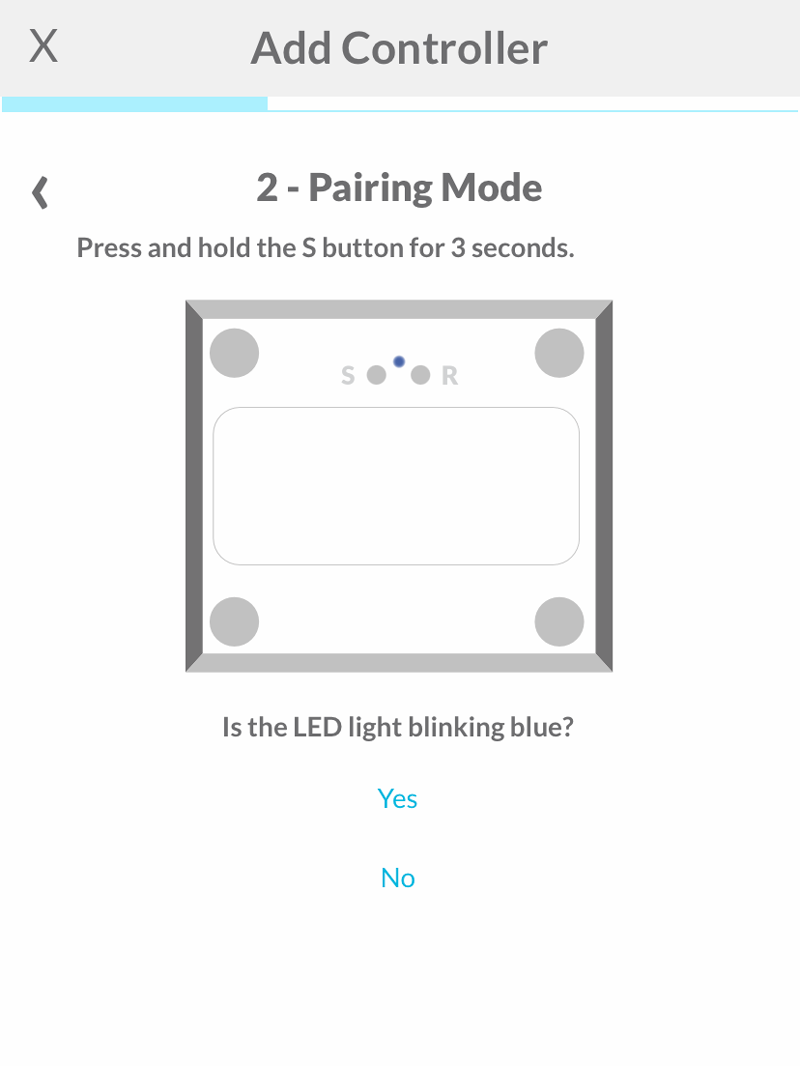
Pairing Mode
Press and hold the S button for 3 seconds. The LED should start blinking blue.
If this procedure fails, tap on No option and follow the troubleshooting instructions.
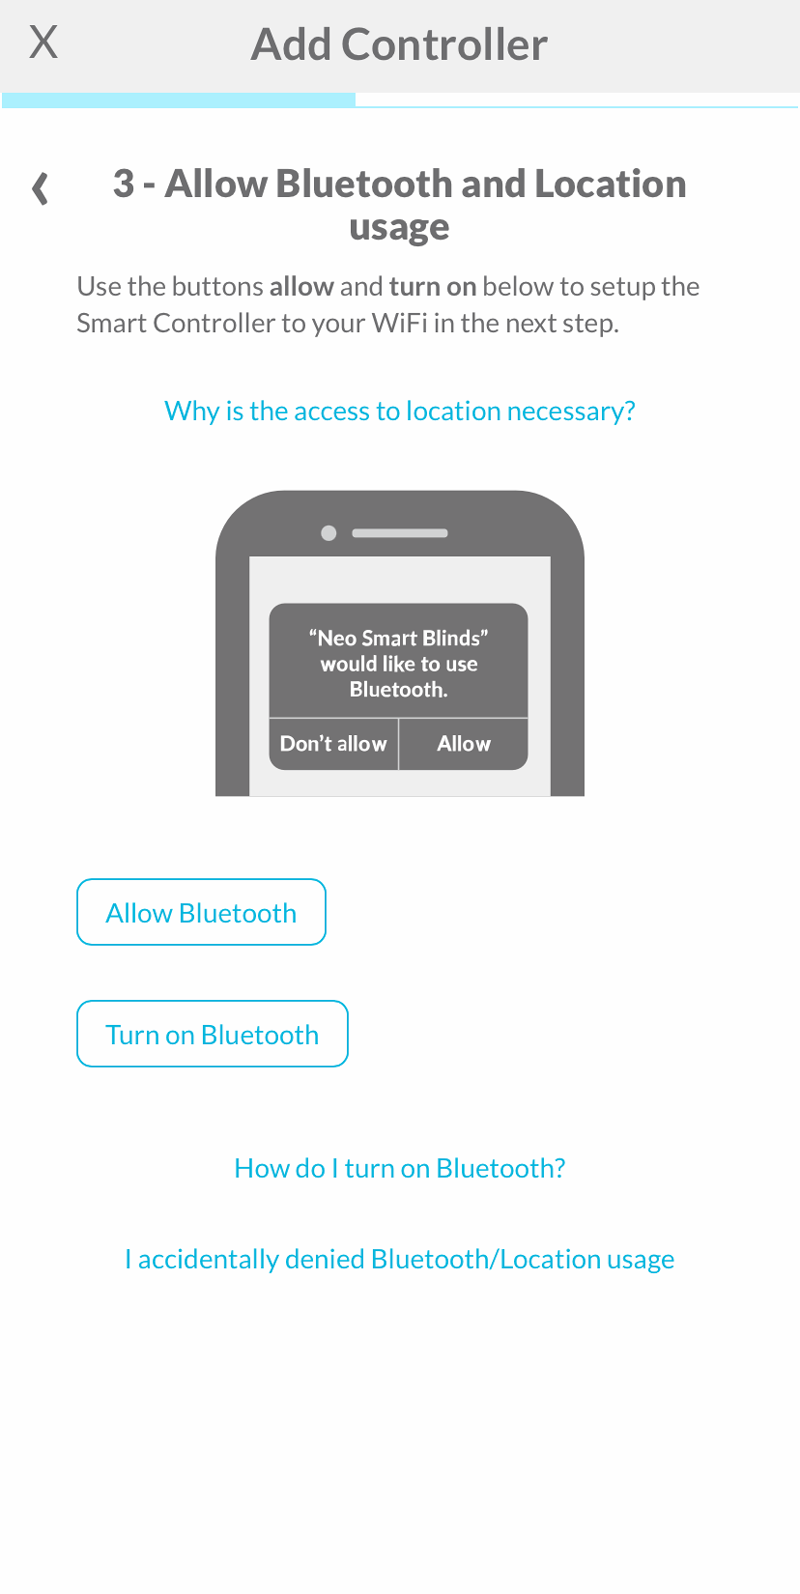
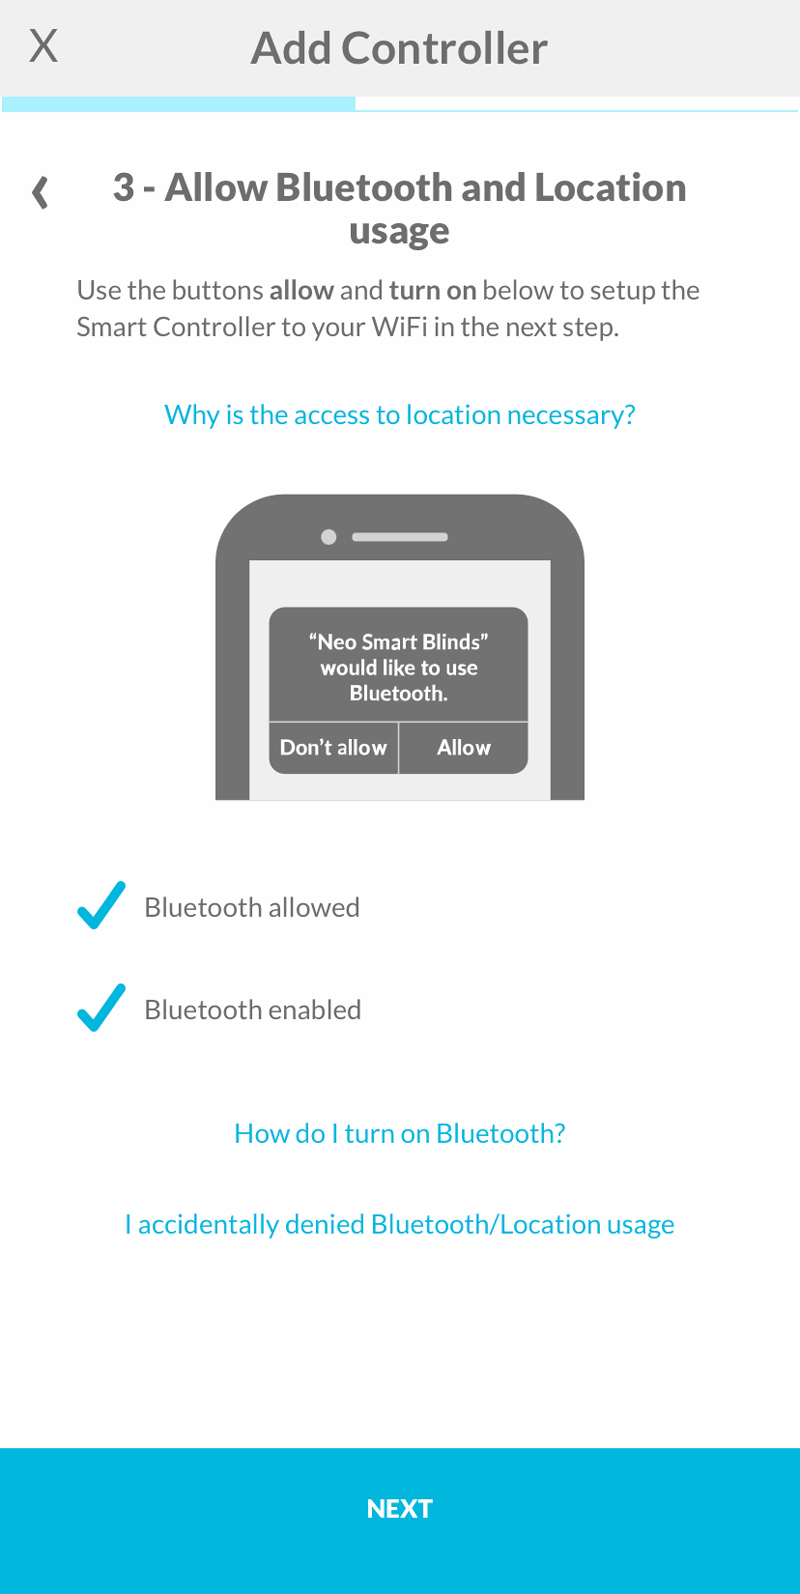
A - Allow Bluetooth and location usage
Tap on the first button to allow bluetooth usage by the app in your device, then tap on the second button to turn on the device's Bluetooth.
Some devices won't allow the app to turn Bluetooth on. In this case, manually turn Bluetooth on, then came back to the app and tap on the button again.
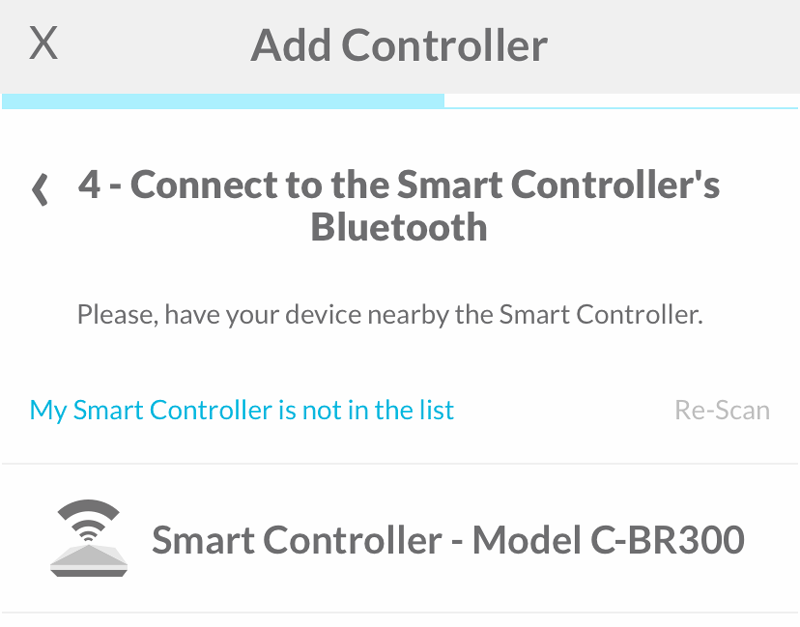
B - Connect to the Smart Controller
The app will list all Smart Controllers in pairing mode. Tap on it to connect via Bluetooth.
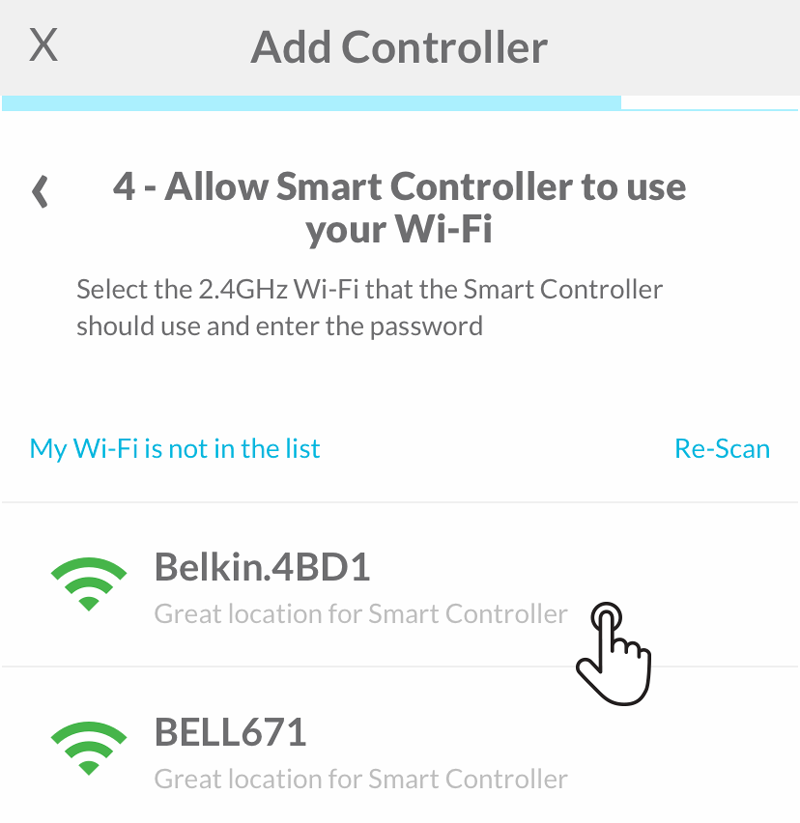
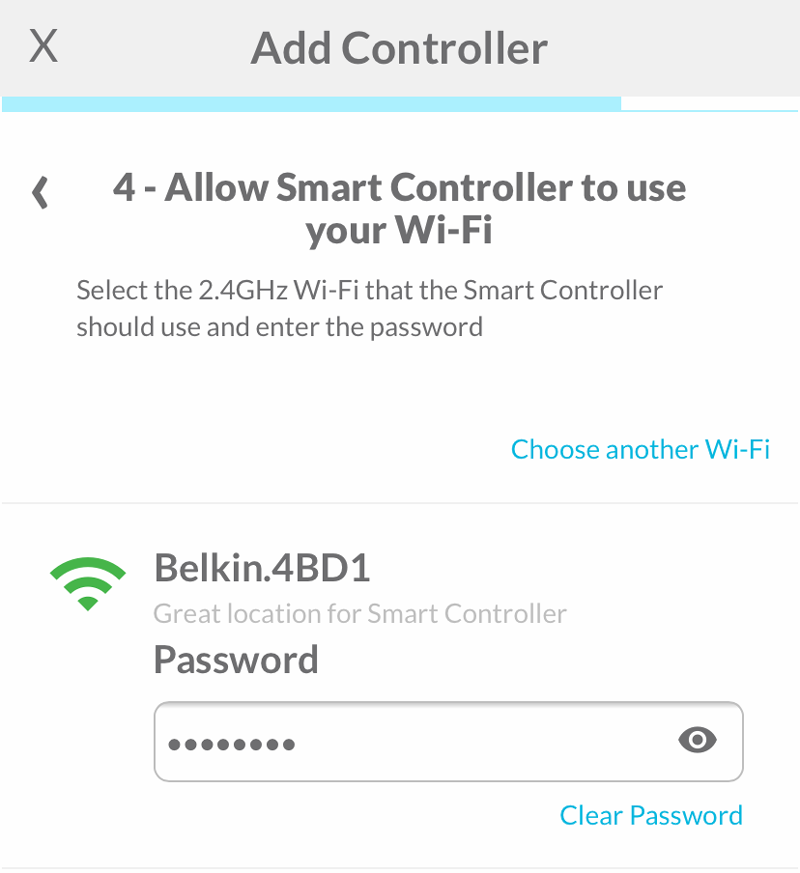
Allow Smart Controller to use your Wi-Fi
Select the WiFi network your Neo Smart Blinds Controller should use, then enter the network password.
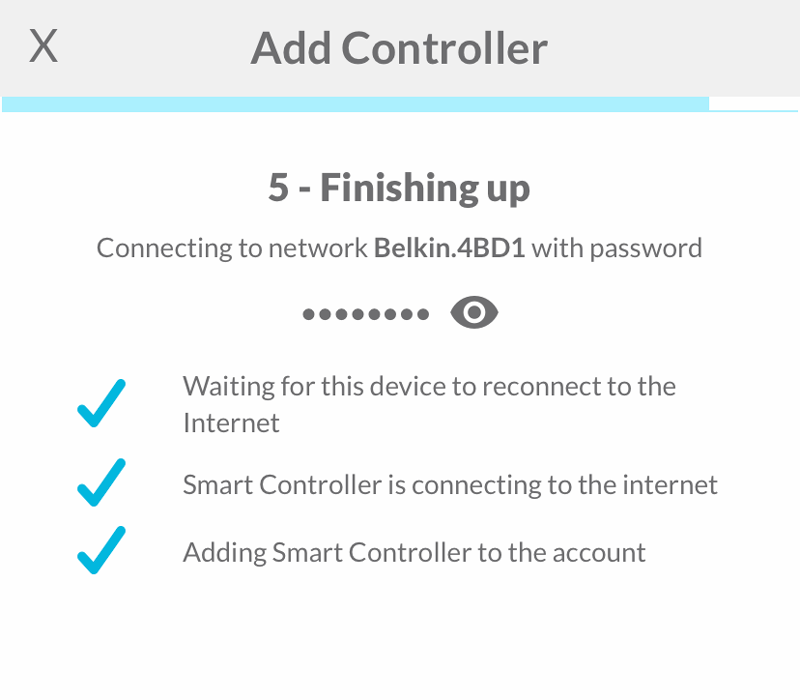
Finishing up
The Smart Controller will proceed to the final steps of the process. If necessary, the app will ask you to follow complementary steps.
What's next?
The Smart Controller was successfully added to your account. You can add another controller or go ahead to add a blind by tapping on one of the buttons on the What's next section. Otherwise, tap on the button Done in the bottom of the page.
 If you encounter issues during this process, please refer to this troubleshooting article for detailed guidance.
Related Articles
Smart Controller C-BR300 Model: Issues During "Add Smart Controller"
Requirements The Smart Controller only supports 2.4 GHz Wi-Fi (IEEE 802.11 b/g/n), not 5 GHz. Wi-Fi security must be set to WPA2-Personal or WPA3-Personal. Ensure a strong Wi-Fi signal (at least 3 bars) in the location where you will set up your ...Smart Controller C-BR300: Shows offline in the app
First, ensure it is connected to a wall charger and has power, then check if the light located on the back of the Smart Controller is on. Wi-Fi Security Compatibility Notice Smart Controllers model C-BR300 no longer support WPA-PSK Wi-Fi security due ...Models WC100 and C-R200: Adding a Smart Controller
Information and what you will need Besides the system requirements listed below, the app will also need your input on whether you want or not to share the device approximate location. You will need: 2.4Ghz Wi-Fi with Internet Your Wi-Fi password in ...Assigning a Smart Controller to a Room
When adding a new room during the Add a blind process, accounts with more than one Smart Controller need to assign a particular Smart Controller to the room. Later, this information can be changed when editing a room. This feature is especially ...Relocating the Smart Controller
The Smart Controller generally covers up to 3,500 sq ft, but actual coverage depends on factors such as construction materials, house layout, number of floors, and its placement. To maximize signal distribution: Central placement with good Wi-Fi ...